This 2004 vintage Arcam CD73 came into us with the reported fault that it would no longer play CD's, or even read the table of contents. Given that it is over eight years old and had plenty of use in that time, we were not surprised to find that the laser had expired and needed replacing.
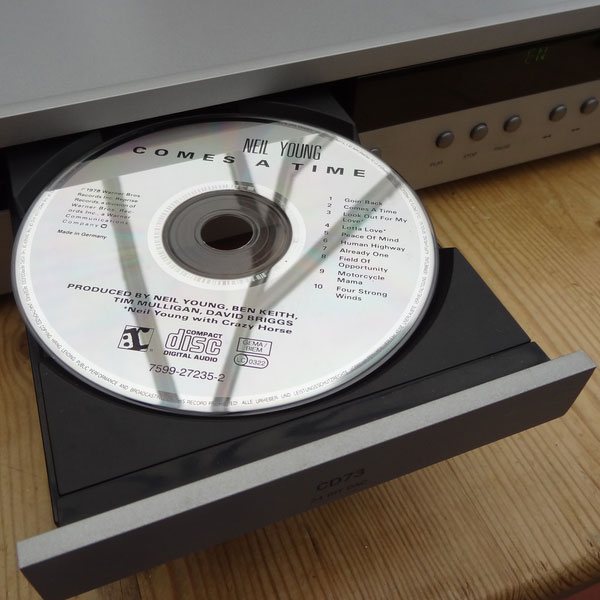 Arcam CD73 CD player from 2004
We are more than happy to repair quality hi-fi rather than throw it away, as with a new laser this CD73 will give many years of service. The CD73 uses the popular Sony KSS-213C laser mechanism, which can be picked up from a number of vendors for under £10 - we got ours from eBay and it arrived within a few days. To avoid unnecessary work, we bought a complete laser/ spindle motor assembly rather than the cheaper option of replacement laser only. If you are thinking of going down this route, always ensure that you take appropriate anti-static precautions when handling the KSS-213C, as it can easily be zapped unwittingly!
The first job after isolating the unit from the mains power supply of course is to remove the steel lid from the machine, which is held in place by four torx (silver) screws on either side of the lid, and then three smaller torx (black) screws on the top lip of the rear panel.
Put the lid and screws safely to one side for later. Making sure you are wearing an anti-static wrist strap, you can now start to disassemble the faulty laser mechanism.
First remove the two posidriv screws (shown highlighted in red) securing the CD puck/ beam assembly as shown in the pic below.
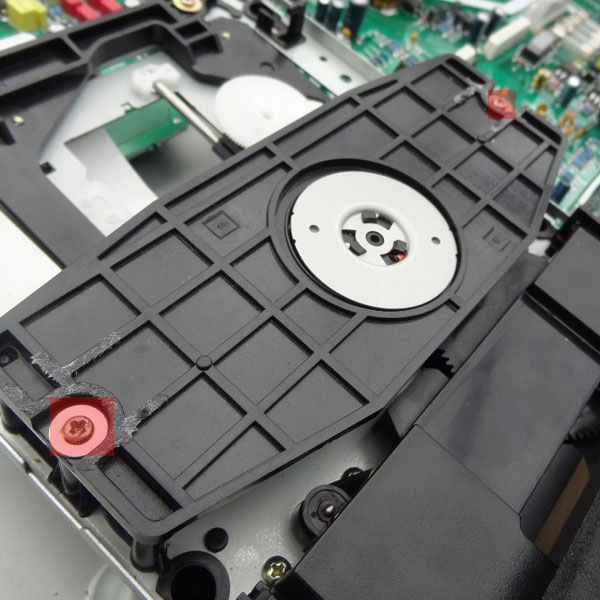 CD puck assembly removal
The next job is to remove the two posidriv screws at the rear of the laser mechanism, again shown in red below.
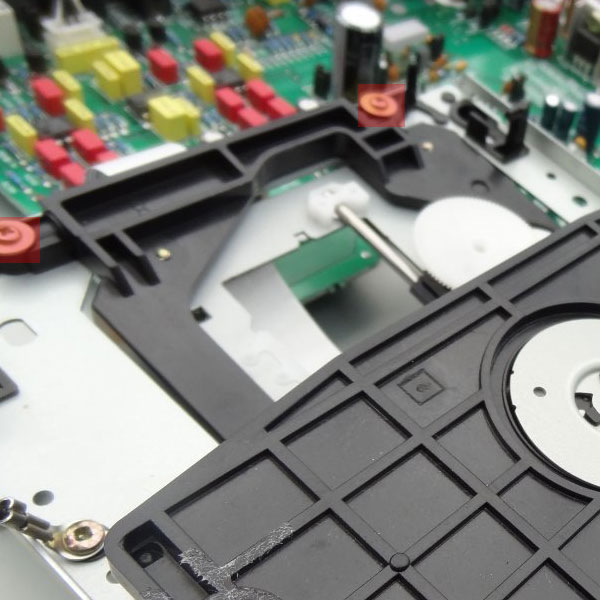 remove these two screws to allow the laser mechanism to be released
Now gently remove the two white plugs from their sockets on the PCB near to the laser transport, and also the flexifoil cable from it's connector, as shown in the next two photos - all three connectors highlighted in red.
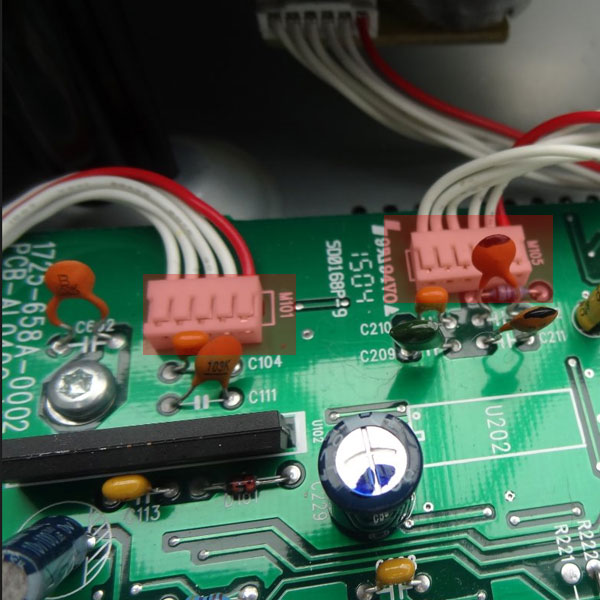 CD73 transport connectors
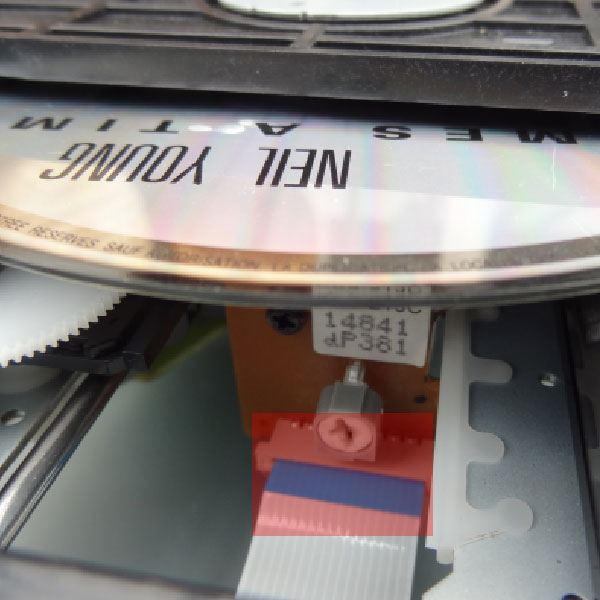 Flexi-foil connector removal
You should now be able to withdraw the CD mechanism from it's location in the CD player - turn it over and unscrew the four screws which hold the laser mechanism to the metal chassis plate as shown - the two red highlighted screws are at the front of the mechanism, the other two are at the rear. Carfully retain the screws, springs and rubber isolation bushes for later use.
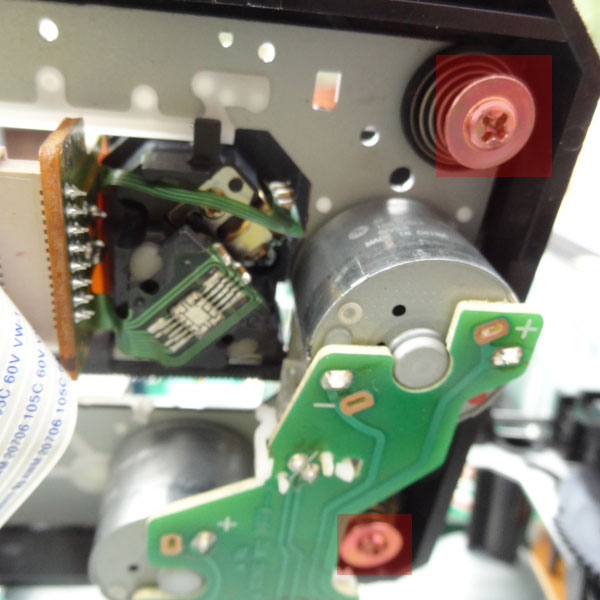 Releasing the four transport screws
The next stage is to remove the shorting link solder bridge on the replacement laser transport - this is in place to protect the device from static damage. After this is done, mount the transport back into the metal chassis using the rubber bushes, screws and springs - make sure that the tension in the spings allows damped movement of the transport when pushed down - it is also important to level the mechanism, so that when a CD disc is loaded, it clears the plastic loading tray at all times.
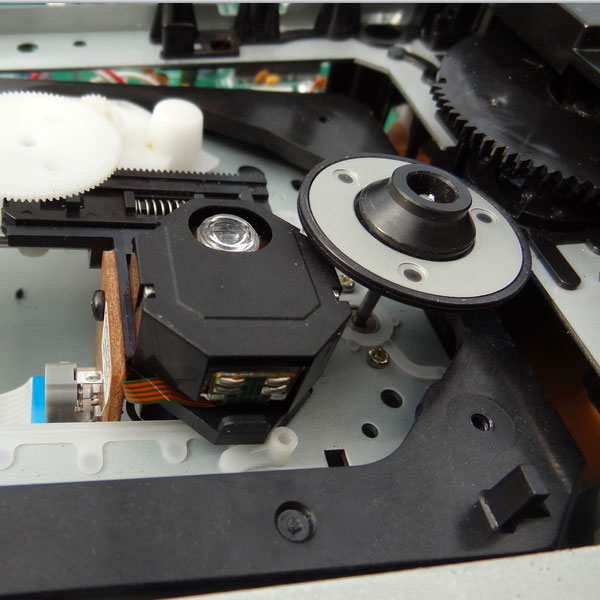 New laser mechanism now in place
Now re-attach the flexi-foil connector to the PCB, and also the two white motor control plugs into their sockets on the PCB. Tr-install the puck/ CD mech beam as shown below, and try to load and play a CD - ours played first time, but you might find you need to adjust the potentiometer on the laser housing pcb for the correct eye pattern waveform - see link below to the Arcam service manual.
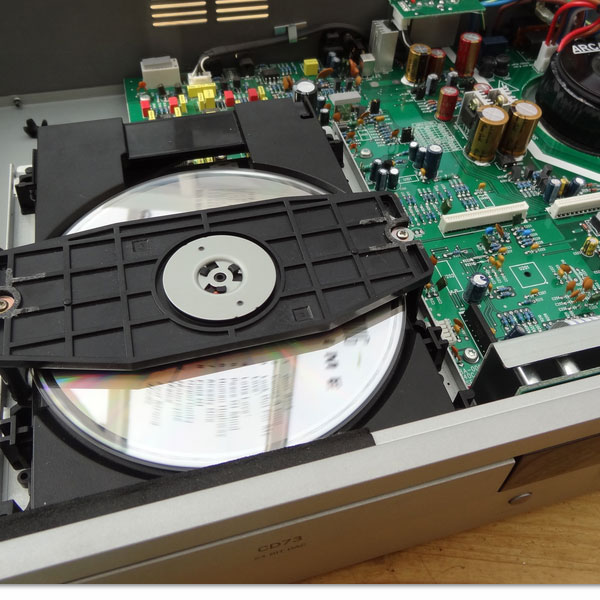 Arcam CD73 playing CD
We soak test each CD player repair for 24 hours to try to eliminate any unidentified gremlins :-)
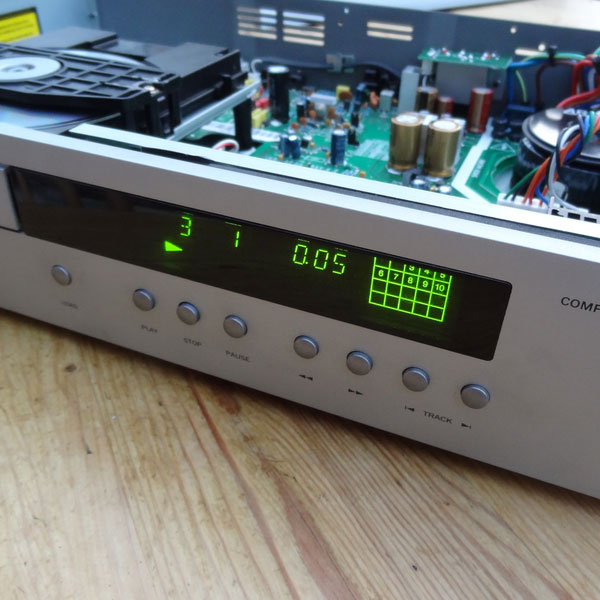 Arcam CD73 cd player in soak test
Here is a link to the CD73 service manual which has useful information on aligning the laser current, and test points for correct eye pattern offset and waveform. A circuit diagram is usefully included too.