The stylus of a phono cartridge is a consumable item, in other words it wears out with use, and can also easily become accidentally damaged, as it is extremely fragile.
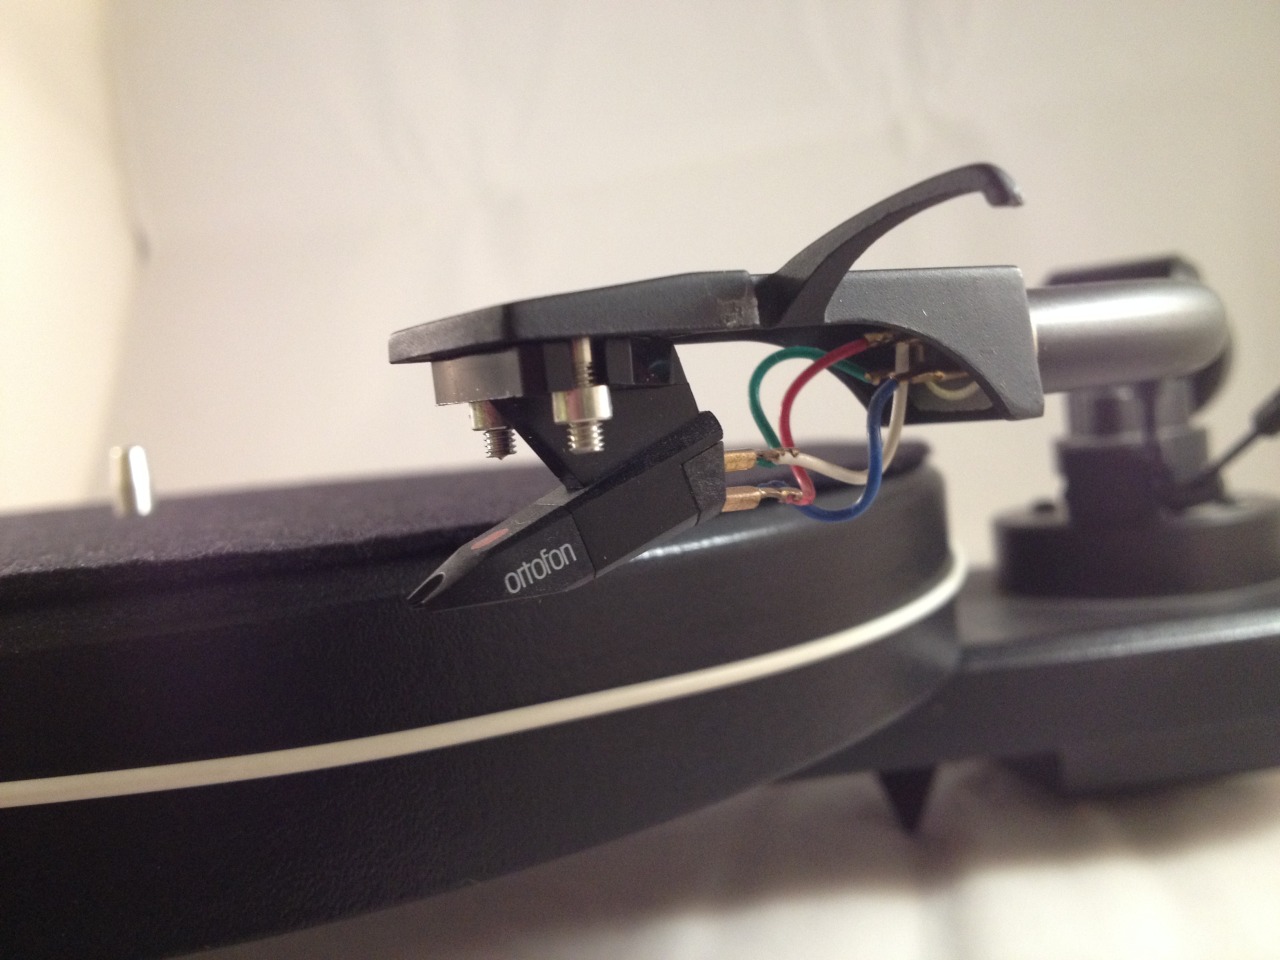 Ortofon OM10 cartridge, minus stylus, which has been accidentally snapped off
As 90% of the value of a phono cartridge is in the stylus, it is often just as easy to replace the entire cartridge rather than just the stylus - this also allows you to upgrade to a better sounding cartridge to give you more enjoyment from your vinyl.
Of course, you will need the right tools for the job, here is a pic of a good selection of tools required:-
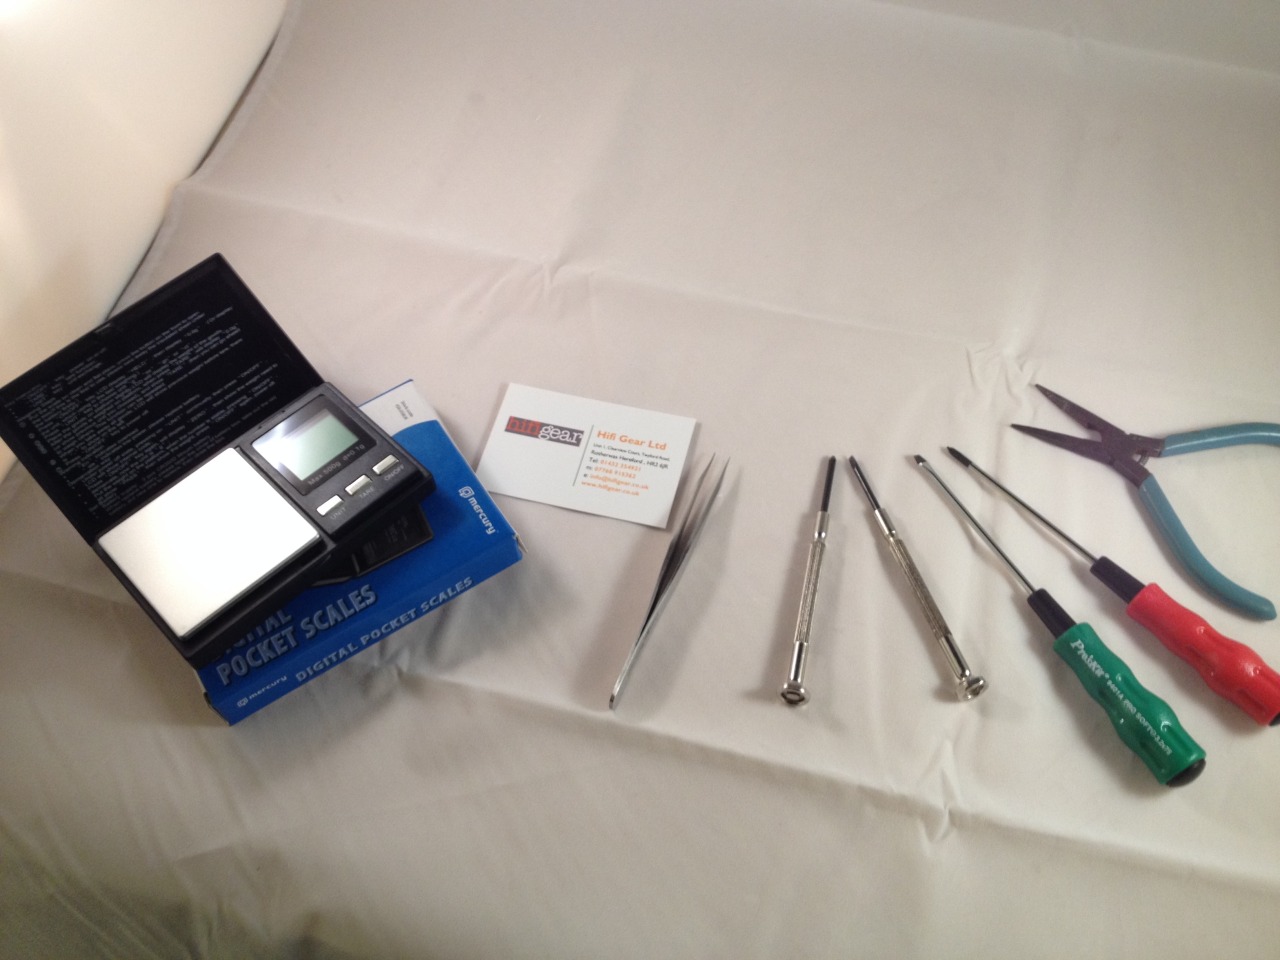
Digital scales that read in 0.1 g increments are a very useful and convenient way of setting the tracking weight accurately. Tweezers, watchmakers screwdrivers and fine nosed pliers are all put to good use in this task.
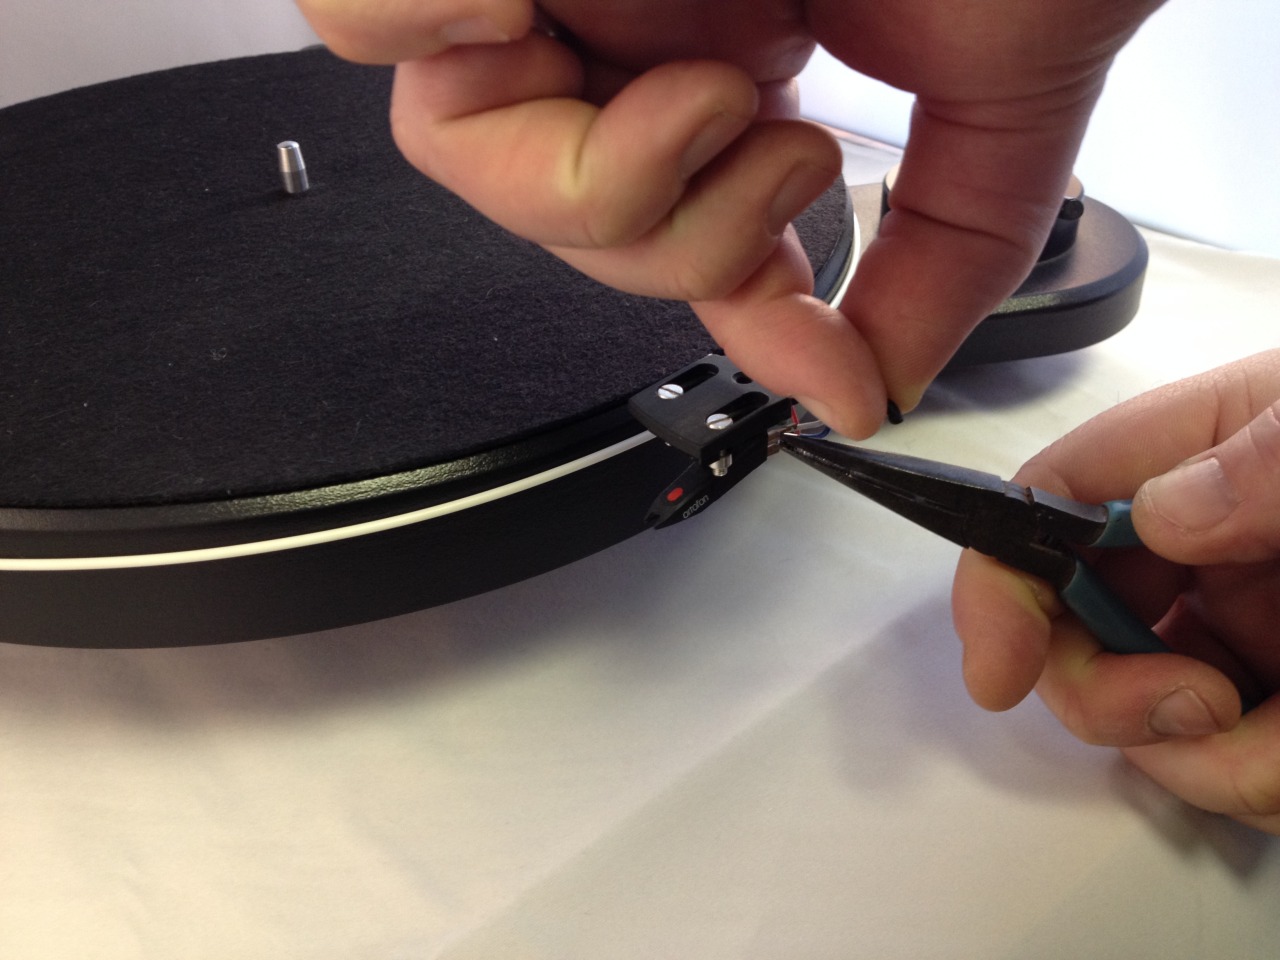
Step 1: Remove the four cartridge tags
Gently pull the cartridge tags off the cartridge output pins making sure to hold the tag with the fine nosed pliers by the flat section as shown in the pic below, NOT by the wire or the round section of tag that connects to the pin.
Step 2: Unscrew the cartridge from the headshell
Using a suitable screwdriver and pliers, slacken off and remove the two cartridge screws and nuts, keeping them in a safe place for re-use later. The old cartridge should be put to one side.
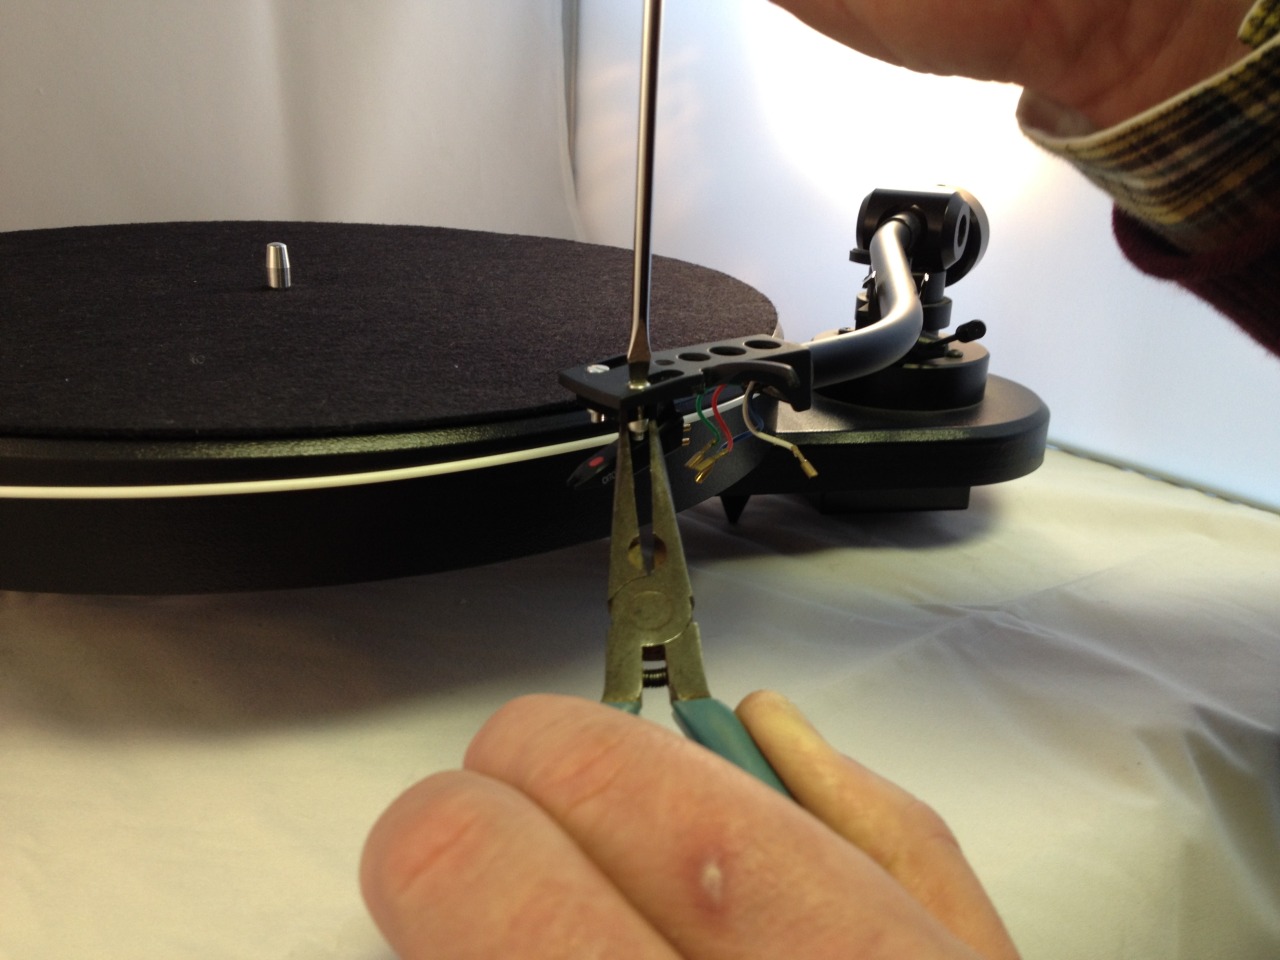 Removing screws to release the cartridge
Step 3: Screw replacement cartridge to headshell
This is a reverse operation of step 2 - you might want to keep the stylus guard in place whilst performing this step. Torque the screws up lightly, so that the cartridge body can still be adjusted in position later.
Step 4: Balance out the cartridge in the arm and set the tracking force
Digital scales simplify this job enormously, and are recommended.
Firstly rotate the counterweight of the arm until the arm and cartridge are perfectly balanced.
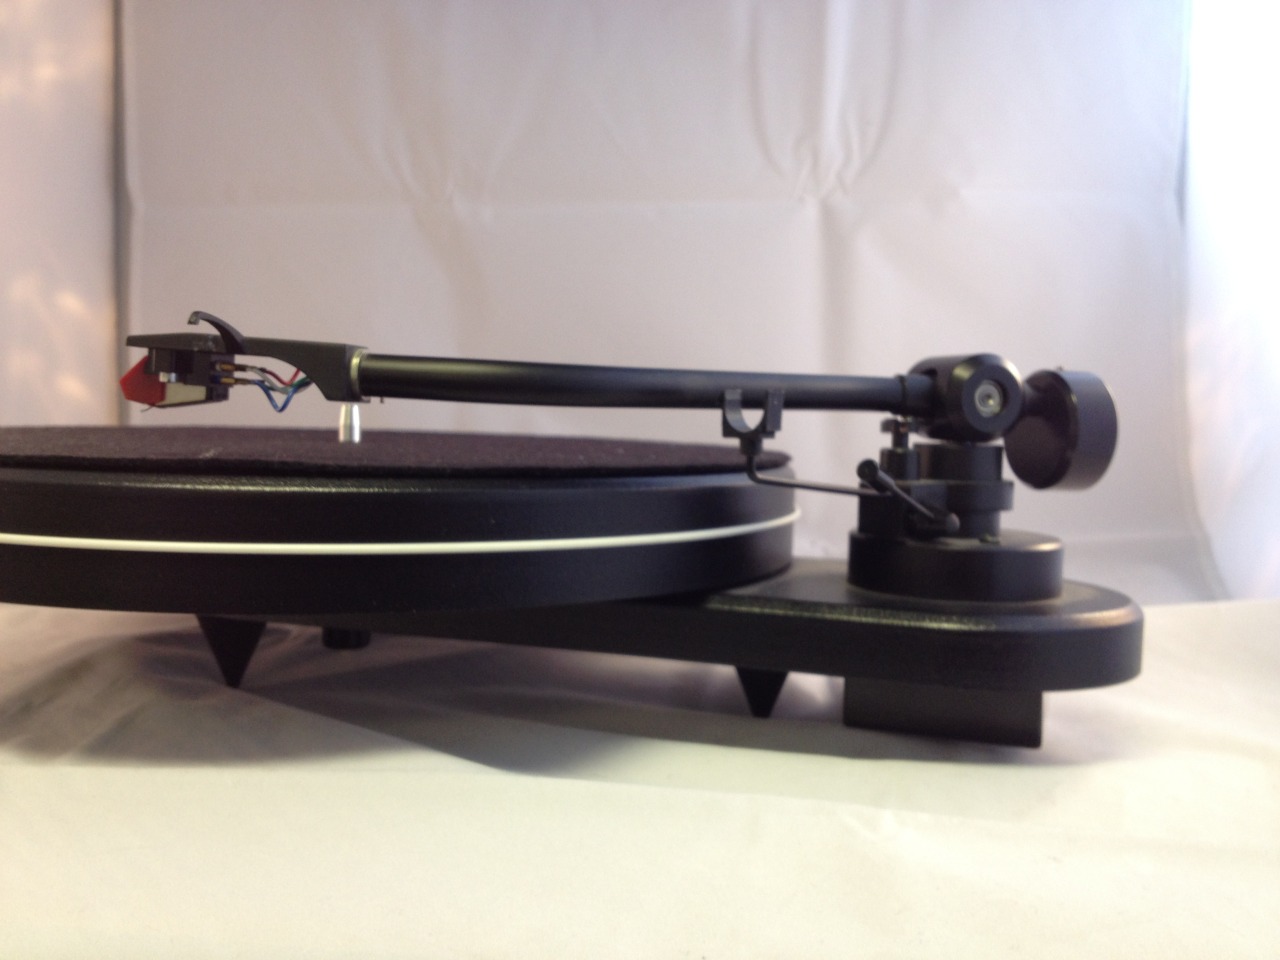 Balancing the arm and cartridge perfectly
Next rotate the counterweight one full turn to apply a small amount of downforce and lower the cueing lever so that the stylus sits on the scales - rotate the counterweight further forward until the correct tracking force is applied - in this case 1.8g
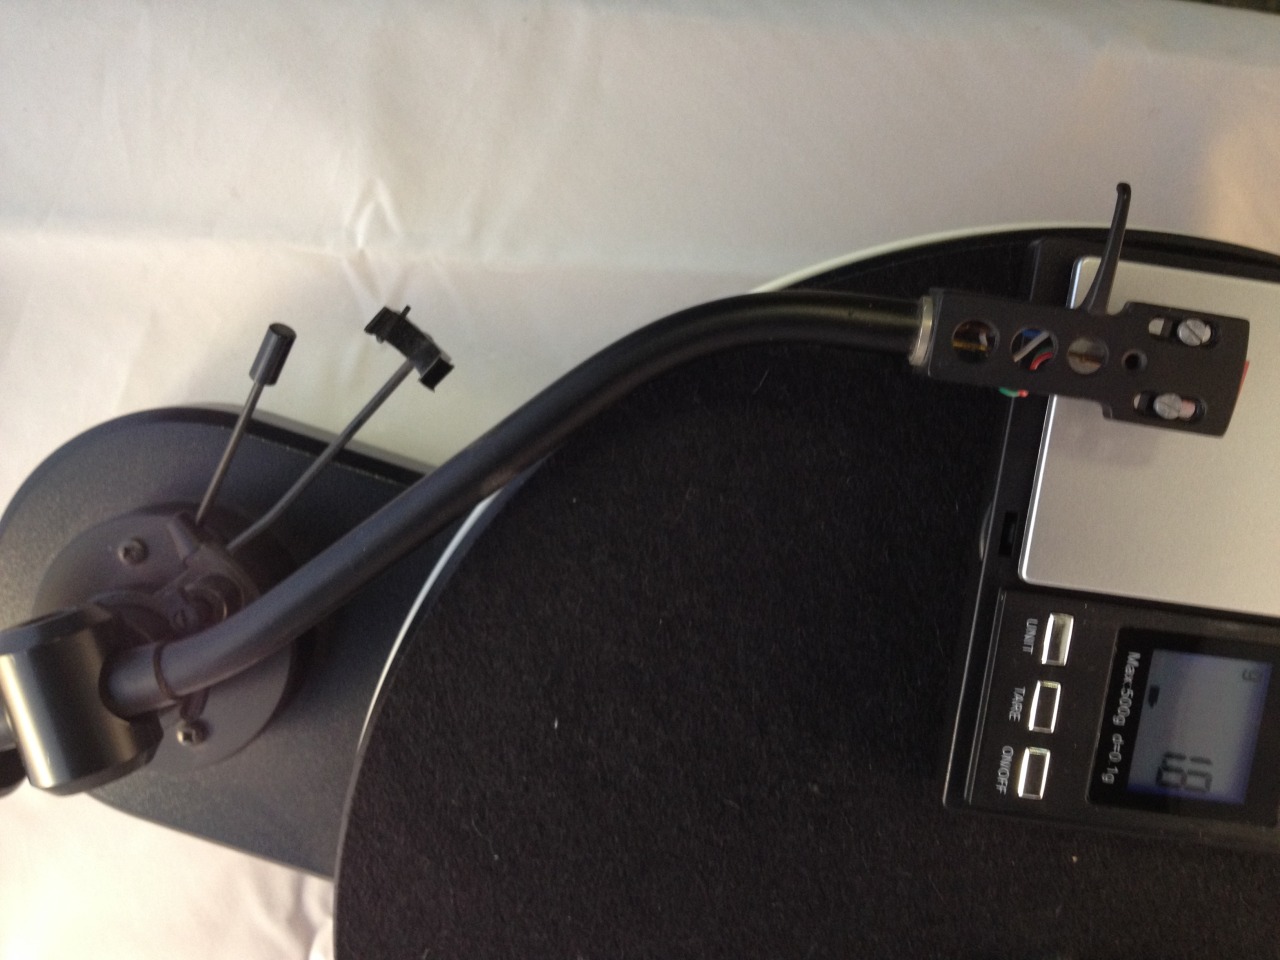 Applying a 1.8g tracking force
Step 5: Align the cartridge to minimise tracking error
For the cleanest tracking of the groove, it is necessary to align the cartridge body sides to be perfectly parallel with the lines on the alignment protractor.
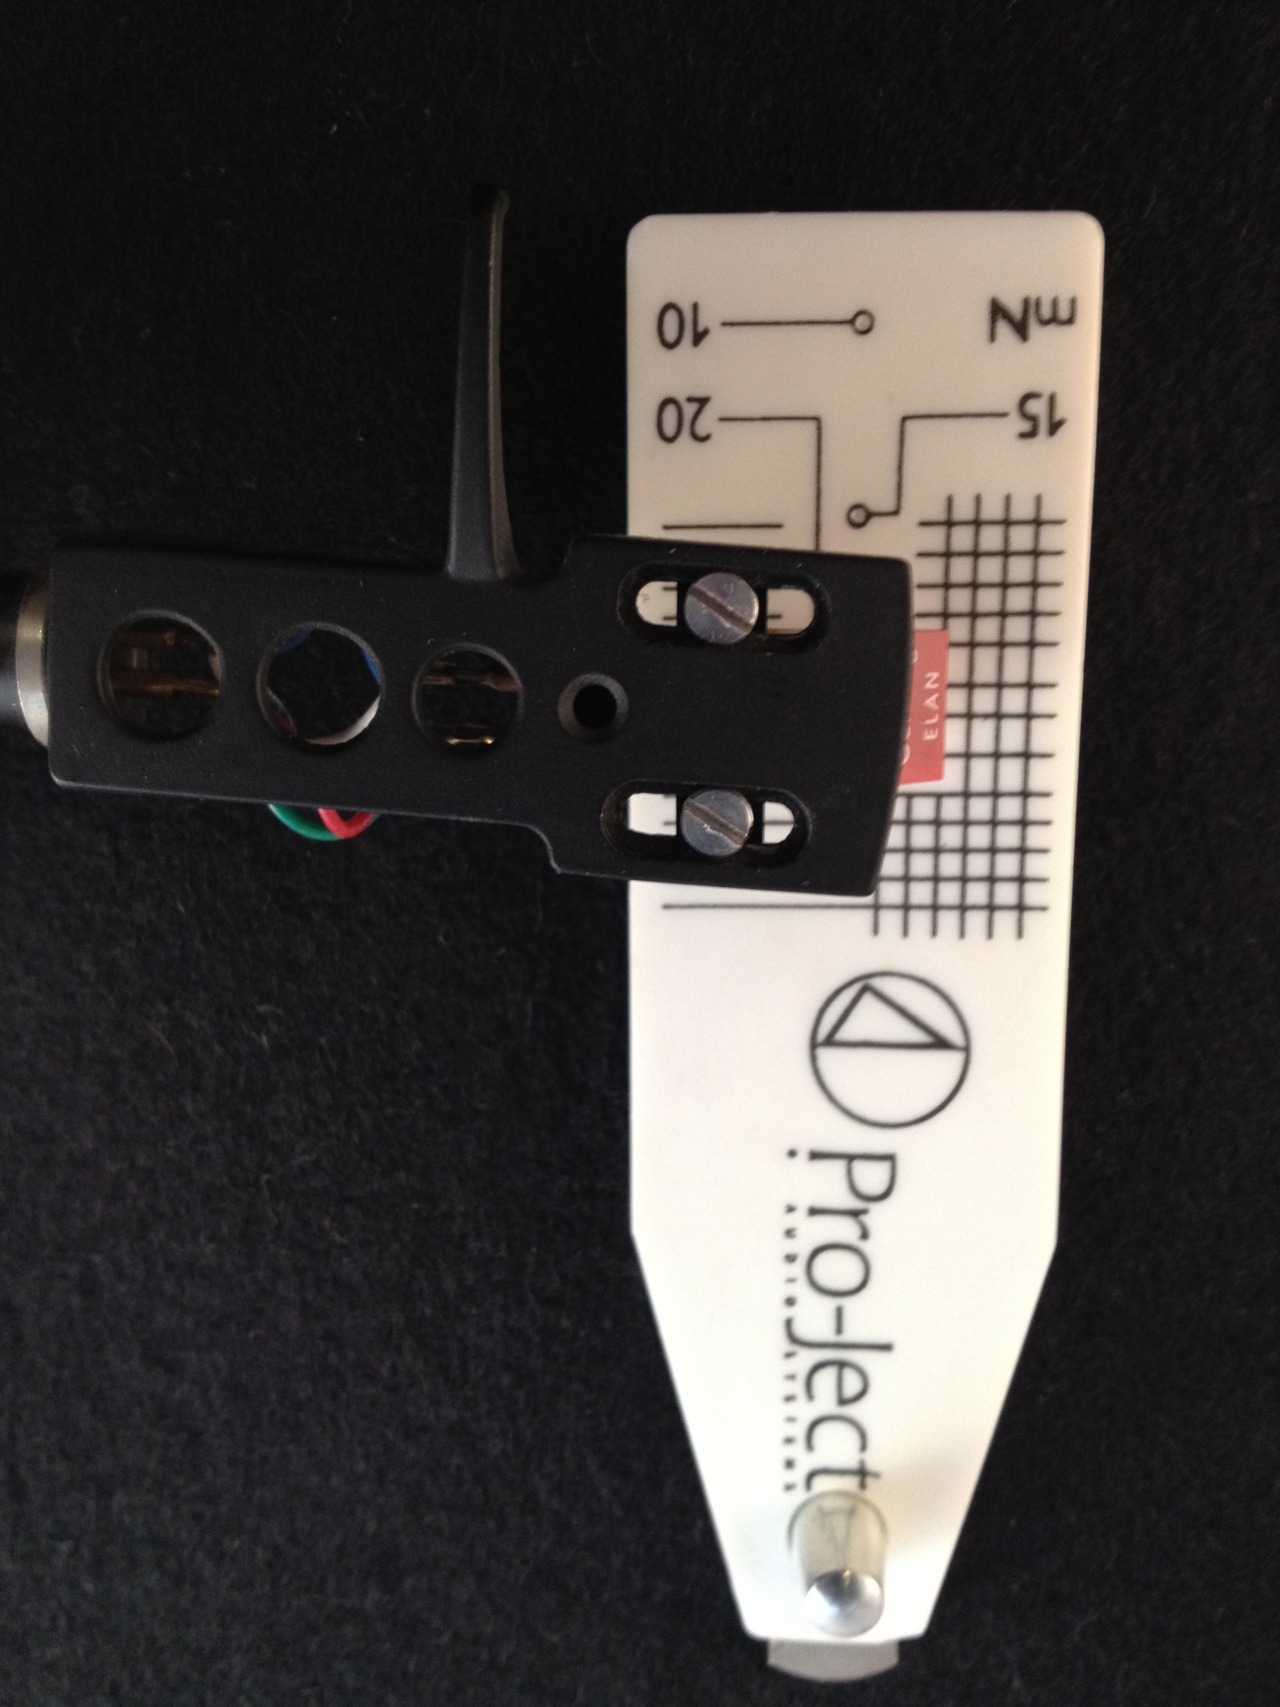 Aligning the cartridge for minimum tracking error.
Step 6: Set the bias (anti-skating) control to 75% of the tracking force - in this case 1.4g. Now try your first spin of vinyl with the new cartridge!
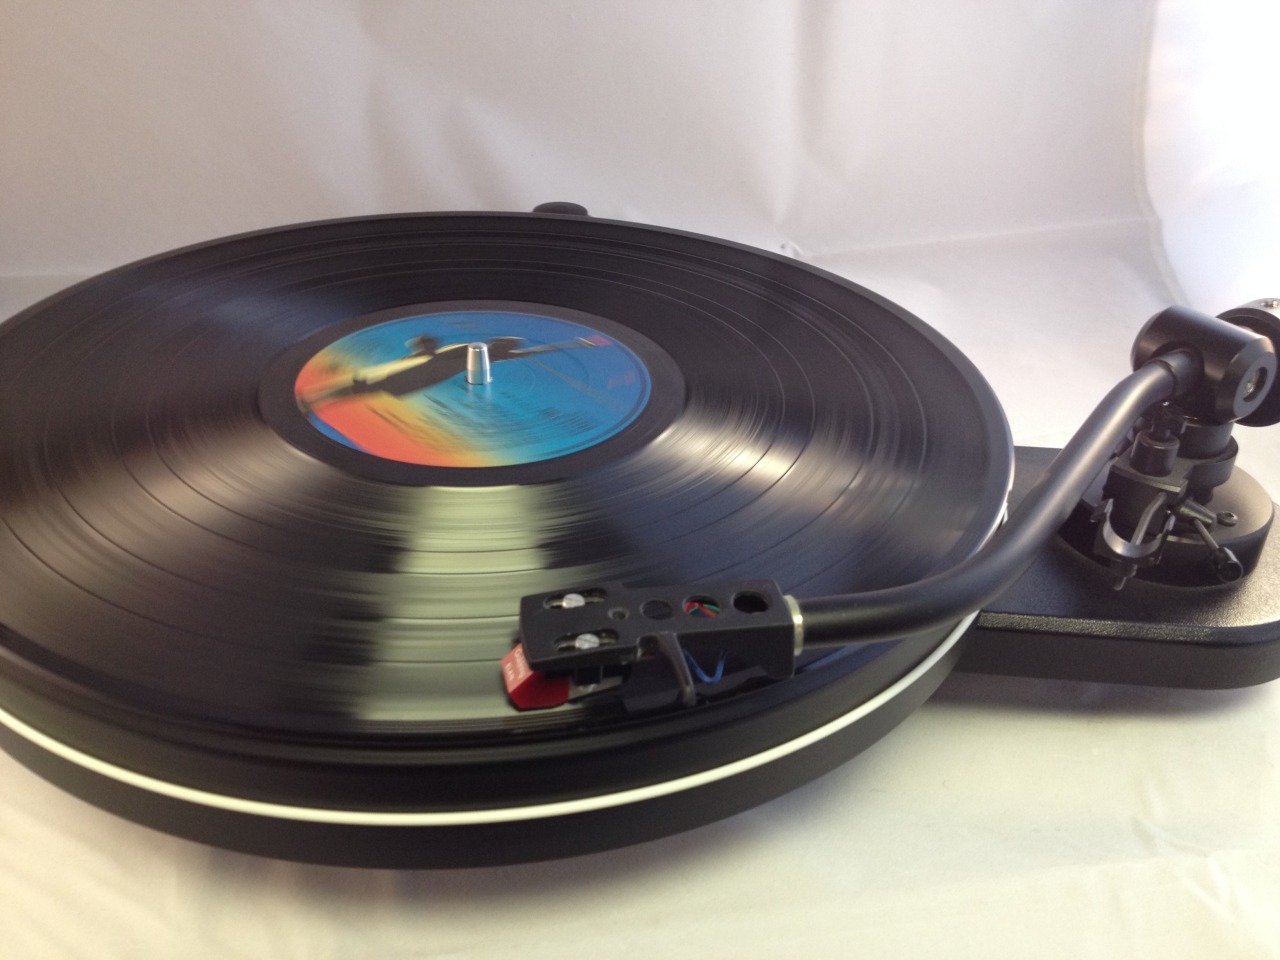 Playing Supertramp's Breakfast in America

